 Loading... Please wait...
Shop by Product
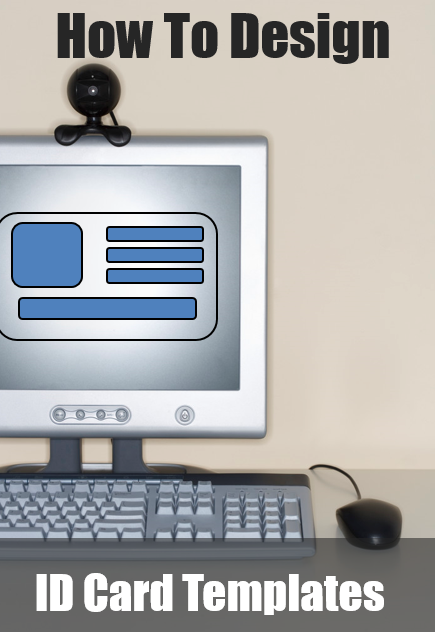
How to Design ID Card Templates
Posted on 26th Sep 2013
ID cards have become an essential part of the workplace environment, especially when it comes to safety and security.

By equipping your employees with well-designed ID badges, you’re able to streamline the personnel process and easily determine who does and does not belong in your building.
Designing the right ID card is imperative when it comes to achieving your security goals. Check out the following tips to help your company create ID badges that will meet your needs perfectly.
What should be included on an ID card?
There are several important components of an effective ID badge. First, it must include the company’s name and, ideally, a logo. Make sure the ID card design is consistent with your company’s current marketing style sheet in terms of font, logo and colors. This consistency will help to project a professional and competent image.
You may choose to go a step further and include a holographic overlay of your logo that can be seen when the ID card is turned at an angle. This can be achieved by adding Holokote capabilities to your ID card printer, and helps to prevent the creation of fraudulent ID cards.
Consider elements such as card orientation (vertical or horizontal), whether the card should be single or dual-sided and if you would like to integrate security clearances into the design. For example, some hospitals assign a specific color to different floors or departments, making it easy to identify where each employee works or if they have the necessary security clearance.
Including an employee picture on the ID card has also become standard practice. The photo should be easily visible to speed along the verification process. To add an extra layer of security, you may want to include the employee’s signature on the card, as well.
Ideally, an ID card should feature encoded information about the user, which can be achieved by using barcodes, QR codes, magnetic strips, RFID tags or smart chips. This allows an organization to sync identifying information with building access or time and attendance programs. It can also be combined with a card reader to approve or deny access, eliminating the need for security personnel in some situations.
Designing the ID badge
It is relatively simple to design an ID card template using Adobe Photoshop. Once you have purchased and downloaded the program, follow these steps:
1. Create a new image the same size as your ID
ID cards are generally 3.375 inches wide and 2.125 inches tall. From the File menu, select New and change the Units option from pixels to inches. Fill in the appropriate width and height values. If you want to include a higher-quality image, increase the resolution to 200-300 pixels/inch. This will make the ID appear larger on the screen, but it will still print the same size.
2. Choose a background ID image
This image will likely be your company logo, or you may choose to use a stock photo. Fill the background with the color white, then copy and paste your background image to a new layer above it. Decrease the opacity (which can be found in the menu above the layers) until the contrast is at the desired level. If you’d like to change the size of the background image, select the image layer, then Edit and Free Transform. This will allow you to click and drag the edges to resize.
3. Import the employee photo
Using the same methods as you did to add the background photo, copy and paste the employee image onto the ID badge and resize as needed. You may want to include a “ghost image,” and can do so by copying and pasting a second photo onto the ID card, resizing and changing the opacity to make it more transparent.
4. Add personal information and signature
Use the “text” tool to add employee personal information. If you would like to include the employee’s signature, copy and paste a digital version of the signature as you did for previous photos, and resize as needed.
By following these steps, you can create effective ID cards that increase the safety and security of your organization.


